 |
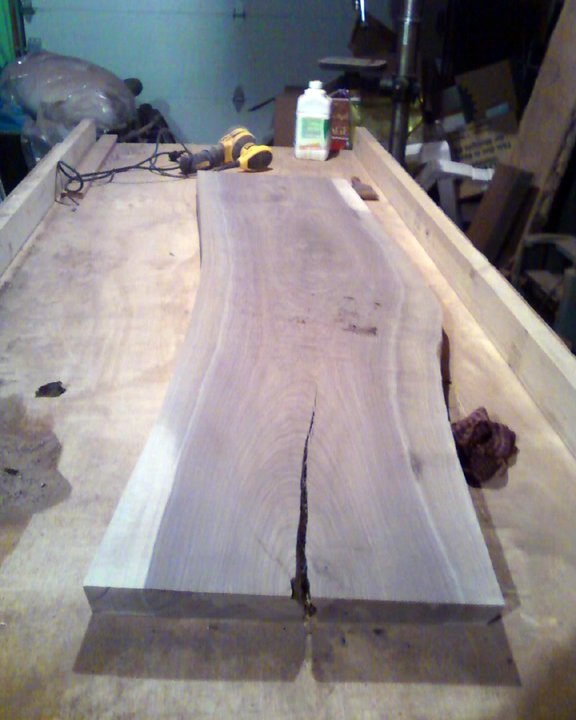
| There's something very twisted about this board. Very twisted. And, I don't like it. |
 | |||
| A quick look at the discrepancy with how much was taken off shows just how badly the slab was twisted. |
 |
| The Nakashima bench at the Michener Museum is right out in the open to view (or sit on). |
One thing I really liked was that as I flattened the stock, I noticed it was some great grain going on. I'd seen Nakashima's benches and really liked them as well, so I decided a bench would make a nice companion for this yet-to-be-made trestle table. Plus, I was quickly learning you can come up with any number of projects that "need" to be done, and thus, excuses to buy more wood (I was becoming an addict!).
 |
| Flattening the slab made a huge difference,and I loved how closely it's shape was to that of the Nakashima bench I'd seen. |
 I'd decided I wanted to do a bench with wide, slab legs on each end, for the sake of building something that would probably hold up longer than if I'd used turned legs on one or both sides. So next I had to map out my mortise and tenons, cut those, and then shape the bottom profile of the slab leg. I used my router to make the mortises and used the bandsaw, router table and handsaw to cut the tenons. After a nice test fit (a perfect 90 degree angle!) I did the glue-up. Nakashima often used a block hidden on the inside of his slab legs to add strength to the joint, so I thought it would be a good idea to do the same. I quickly squared up an extra piece of walnut and got some dowels. I decided two dowels going into the leg, and two going into the bottom of the bench would be more than sufficient. The leg dowels would be blind mortise and tenons, and the ones going into the bench would be through tenons.
I'm almost done with this project, unfortunately it's taken a backseat to everything else I have going on. I have to flatten one more slab leg, cut the mortises and tenons for that and join it. Then it's on to sanding and finishing... I hope to get back to this project within the next month or so! You can view and purchase furniture I've made, like this, here https://www.etsy.com/listing/204007357/live-edge-walnut-side-table-coffee-table?ref=shop_home_active_1.
 |
| Since this project I've stopped tracing my keys with a pencil and instead have used an exacto knife. I have found this method makes it a lot easier to get a nice, snug fit. |
 |
| I love the subtle curve Nakashima used at the base of his bench. It's visually appealing and also serves a purpose: to make the bench sit on all fours, even on an uneven floor. |
 |
| There's something really cool about cutting tenons, especially finishing them off with a hand saw. |
 |
| During glue-up of the leg I had a small mishap and accidentally chipped the edge of the leg in a small area. So, I had to glue and clamp it back on. |
 |
| A perfect 90! Nice... |
 |
| Nakashima did not use through tenons on the dowels in his braces. I decided to go ahead with it because I thought it looked cool and also would provide even more strength and support to the joint. |
 |
| The best surprise, and the thing I am probably most excited about with this project, is the amazing grain all over this walnut. There is "fire" throughout the grain as well as some crazy rippling and feathers going on. Applying the finish to this bench is going to be a labor of love and a fun time. |
 |
| More great grain. Cheap, twisted walnut ended up with a nice secret within. |